
Internet Speed Issues on Mac: Troubleshooting Guide
Internet Connectivity
May 27, 2025
Learn how to troubleshoot and improve internet speed issues on your Mac with practical steps and advanced tips for optimal performance.

When your Mac’s internet slows down, it can disrupt your work, streaming, or browsing. Here’s a quick guide to identify and fix the issue:
Key Fixes:
Restart your router and Mac: This clears temporary glitches.
Run a speed test: Use online tools or the
networkQuality -vcommand in Terminal to check your speed.Check Wi-Fi settings: Forget and reconnect to your network or create a new network location.
Switch DNS servers: Use faster ones like Google DNS (8.8.8.8) or Cloudflare (1.1.1.1).
Clear DNS cache: Use Terminal commands to refresh outdated DNS info.
Control bandwidth-heavy apps: Use Activity Monitor to stop apps consuming too much data.
Optimize MTU settings: Adjust the packet size for better performance.
Run Wireless Diagnostics: Identify interference or weak signals.
Prevent Future Issues:
Keep macOS updated: Regular updates fix bugs and improve performance.
Secure your network: Use strong passwords, enable firewalls, and monitor for unknown devices.
Monitor performance: Tools like PeakHour help track network health in real-time.
Most issues can be resolved with these steps. If problems persist, contact your ISP or check hardware like cables and adapters. Stay proactive with regular maintenance to keep your connection smooth.
Why is my WiFi SLOW on my Mac? Troubleshoot WiFi issues on a Mac [using Wireless Diagnostics]
How to Identify Internet Speed Problems on Your Mac
Before diving into solutions for a sluggish connection, it’s important to figure out what’s causing the issue. Your Mac comes equipped with several tools to help you determine whether the problem lies with your internet service provider (ISP), your network setup, or something else entirely.
Testing Your Network Speed
Start by running a speed test to check your internet performance. Online tools can quickly measure your download, upload, and ping rates. On your Mac, you can also use Activity Monitor to get a snapshot of your network usage. Open Activity Monitor, go to the Network tab, and see which apps are consuming bandwidth. This can help you identify any resource hogs.
For a more detailed analysis, macOS Monterey and later versions include a built-in speed testing command. Open Terminal and type:
This command evaluates your upload and download speeds, responsiveness, and round-trip time. If your results show speeds far below what your internet plan promises, you may need to contact your ISP. Once you’ve ruled out ISP issues, check your network settings to ensure they’re configured correctly.
Reviewing macOS Network Settings
Sometimes, your Mac’s network settings could be slowing things down. To troubleshoot, go to System Settings > Network and review your connection details - whether you’re using Wi-Fi, Ethernet, or a VPN.
Check Wi-Fi Strength: Look at your Wi-Fi status and signal strength. If the signal is weak, try resetting your Wi-Fi settings. Go to System Settings > Network > Wi-Fi, click Details next to your network, and then select Forget This Network. Reconnect to see if it helps.
Create a New Network Location: This resets your network settings without deleting your existing configuration. Head to the Apple menu, choose System Settings > Network, and under the location dropdown, select Edit Locations. Click the + button to create a new location and test your connection.
Switch DNS Servers: If web pages are loading slowly, changing to faster DNS servers like Google DNS (8.8.8.8 and 8.8.4.4) can improve response times.
If tweaking these settings doesn’t resolve the issue, it’s time to dig deeper into interference and environmental factors.
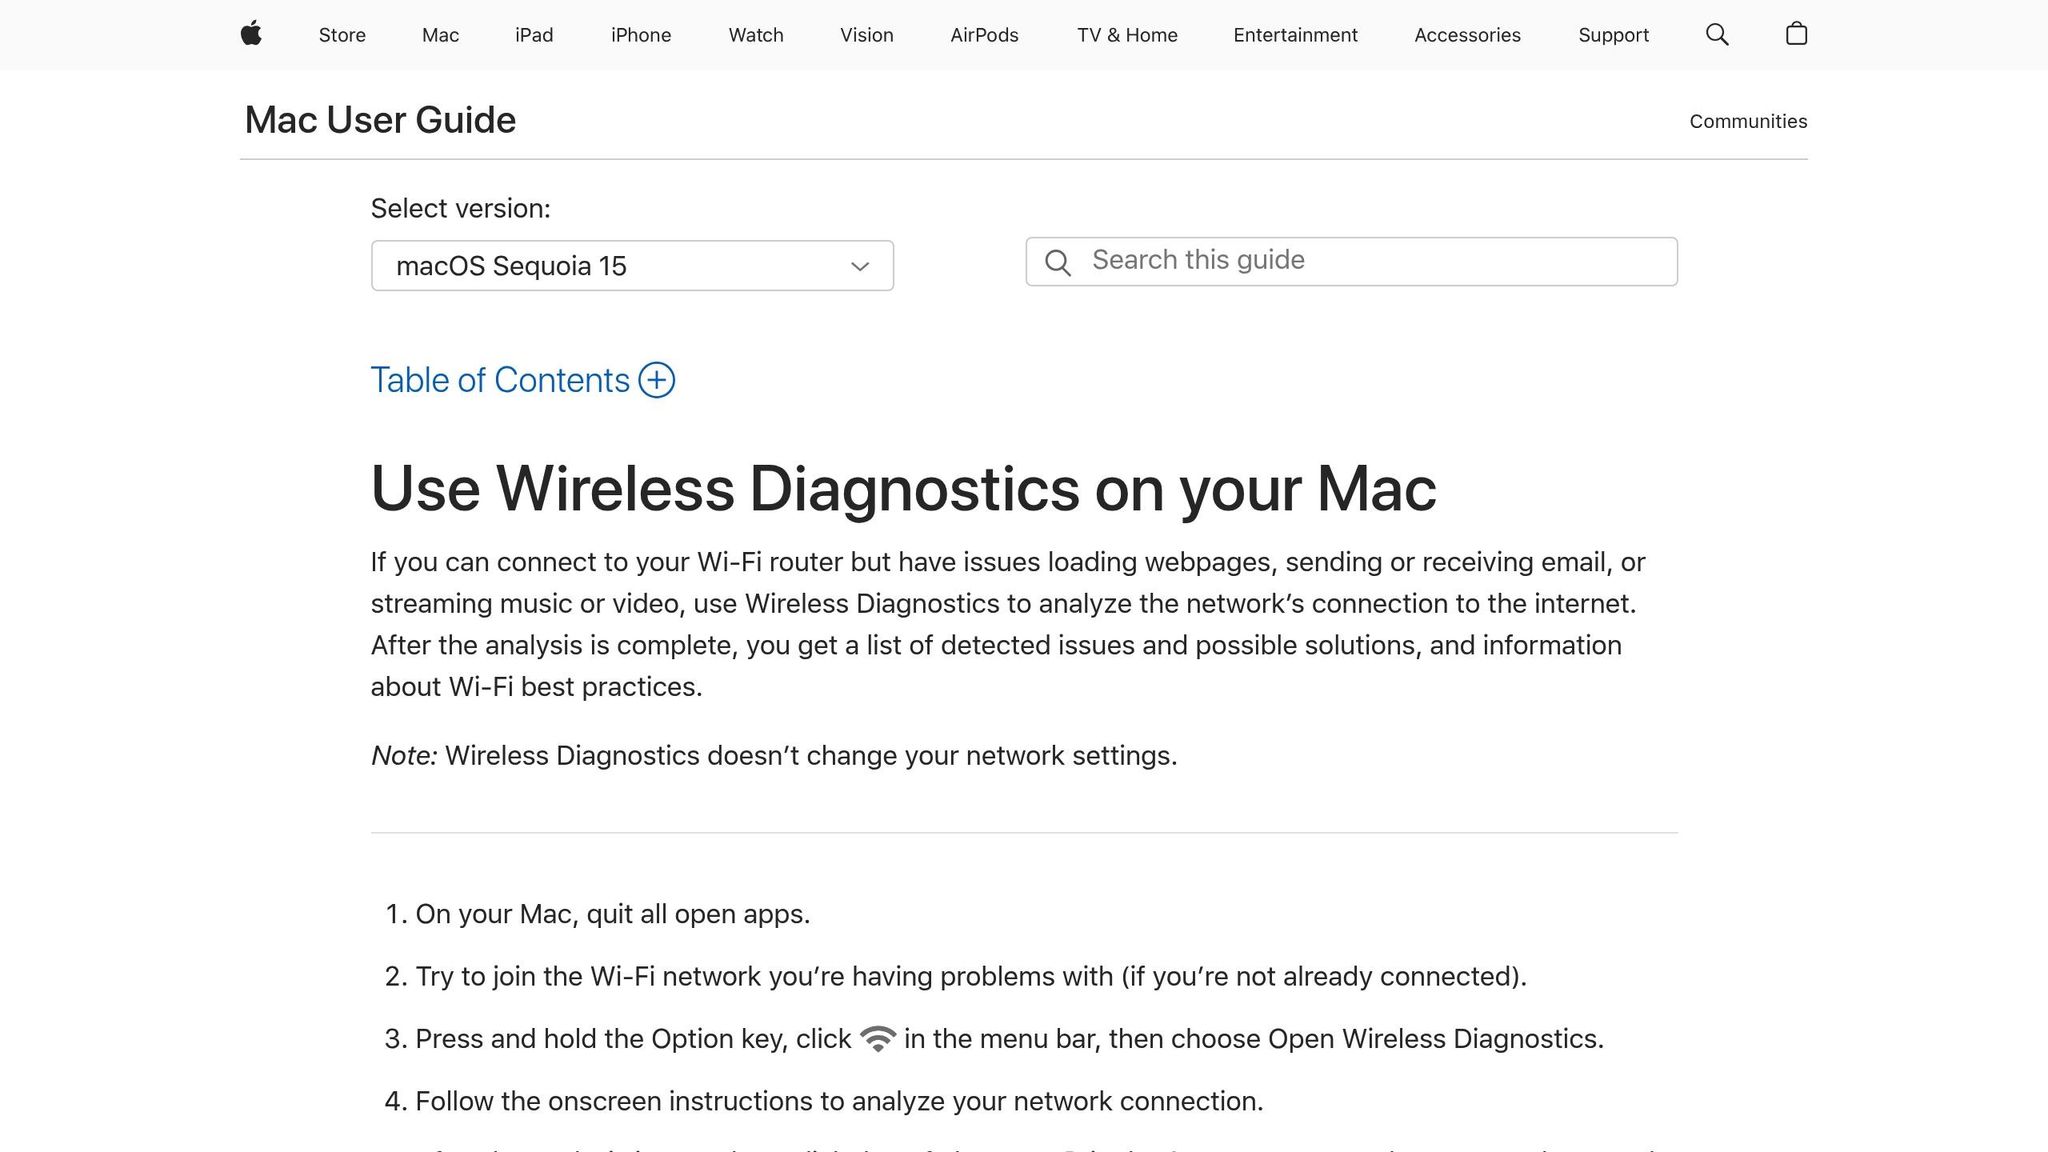
Running macOS Wireless Diagnostics
When speed tests and settings adjustments don’t solve the problem, Apple’s Wireless Diagnostics tool can help uncover issues like signal interference or weak connections. To access it, hold the Option key, click the Wi-Fi icon in the menu bar, and select Open Wireless Diagnostics. Alternatively, use Spotlight Search (Command + Space) and type "Wireless Diagnostics."
Follow the on-screen instructions to analyze your network. The summary pane highlights detected problems, and clicking the Info buttons provides detailed explanations and possible fixes.
For a deeper dive, explore the additional tools within Wireless Diagnostics. Here are a few key features:
Scan Tool: Found under Window > Scan, this feature lists nearby Wi-Fi networks and recommends channels to avoid congestion.
Performance Tool: Located under Window > Performance, this tool displays real-time graphs of noise levels and signal strength, helping you spot interference patterns.
If the basic diagnostics don’t pinpoint the issue, you can use the Monitor my Wi-Fi connection option to generate a detailed report. The report is saved in the /var/tmp folder with a filename starting with "WirelessDiagnostics" and ending in ".tar.gz." This can be helpful when working with IT support or network administrators.
Wireless Diagnostics also includes several advanced tools - like Assistant, Logs, Sniffer, and Sidecar - that analyze specific aspects of your network. These tools can detect common problems such as channel congestion and signal weakness, giving you a clearer picture of what might be going wrong.
Simple Steps to Fix Common Internet Issues
Once you've pinpointed potential issues with your Mac's internet connection, it's time to try a few simple fixes. These basic troubleshooting steps can often resolve connectivity problems without diving into complex technical processes.
Restarting Your Network Equipment and Mac
A good old restart can work wonders for internet speed issues. Start by unplugging your router and modem for about 10 seconds, then plug them back in. While you're at it, restart your Mac to refresh its IP address. Think of your router as a mini-computer - it has a CPU, memory, and storage running an operating system, and like any computer, it can experience slowdowns or glitches.
"Rebooting your router --- like any computer --- clears its memory, ends all tasks, and reloads the router's operating system (or firmware), which will fix most issues." - How-To Geek
Once everything is powered back on, check your connection to see if the speed has improved. Also, double-check that all cables are securely connected to your modem and Mac.
Clearing DNS Cache and Renewing DHCP Settings
If a restart doesn't do the trick, it might be time to refresh your DNS and DHCP settings. Flushing the DNS cache and renewing your DHCP lease can help update your network configuration. If you're dealing with slow-loading websites or trouble connecting to specific pages, outdated DNS information on your Mac could be the culprit.
To renew your DHCP lease:
Go to Apple menu > System Settings.
Click Network in the sidebar.
Select your network service (Wi-Fi or Ethernet) and click Details.
Under TCP/IP, click Renew DHCP Lease, then hit OK.
For clearing the DNS cache, open Terminal (you can find it via Spotlight search with Command + Space or in Applications > Utilities) and enter the appropriate command for your macOS version:
macOS 12 (Monterey) and later:
sudo dscacheutil -flushcache; sudo killall -HUP mDNSRespondermacOS 10.14 (Mojave) to macOS 11 (Big Sur):
sudo killall -HUP mDNSResponderOS X 10.10 (Yosemite):
sudo discoveryutil udnsflushcaches
After typing the command, press Enter, then input your administrator password if prompted. Hit Enter again to execute the command.
Once you've renewed the DHCP lease and cleared the DNS cache, restart your Mac to ensure all changes take effect.
Finding and Controlling Bandwidth-Heavy Apps
After refreshing your network settings, it's a good idea to check for apps hogging your bandwidth. Background processes can sometimes consume more data than you realize, slowing down your internet connection.
Open Activity Monitor and switch to the Network tab to spot apps using a lot of data. If you find any unnecessary processes eating up bandwidth, quit them by selecting the app and clicking the X button in the toolbar. For ongoing monitoring, you can add the network monitor to your Dock by going to Activity Monitor > View > Dock Icon > Show Network Usage.
Common offenders include cloud backup services, video streaming apps, file-sharing programs, and automatic software updates. If an app is consistently using too much bandwidth and isn’t essential, you might want to uninstall it. Additionally, review your System Settings > General > Login Items to disable any startup apps that might be running in the background and consuming data as soon as your Mac boots up.
Improving Network Performance on macOS
Once you've tackled basic connectivity issues, you can take your Mac's network performance to the next level by tweaking advanced settings. These adjustments can improve both speed and stability, giving you a smoother online experience.
Changing MTU Settings
The MTU (Maximum Transmission Unit) controls the largest packet size your Mac can send over the network without splitting it into smaller pieces. By default, this is set to 1,500 bytes, but that might not be the best choice for every connection.
To check your current MTU setting, open Terminal and type:
Next, test your connection’s capability with this command:
If you see a "Message too long" error, it means your MTU is set too high. Experiment with smaller values like 1,400 or 1,300 until the ping command works smoothly. Alternatively, you can automate this process using:
This command will test a range of MTU sizes to help you find the optimal value.
Once you've identified the best MTU size, set it using:
Replace "en0" with your actual network interface if it's different. After making this change, toggle your Wi-Fi off and on to apply the new settings.
"In 2013, OSXDaily reported that changing the MTU size on a Mac resolved stubborn Wi-Fi issues, especially when standard troubleshooting like deleting wireless preference files didn't work. Some users found that an MTU of 1453 resolved persistent wireless dropping problems."
For PPPoE connections, which require additional data overhead, a lower MTU (1,492 or less) is often necessary. If problems persist, contact your ISP to confirm their recommended MTU settings.
Once your MTU is optimized, you can move on to improving how your Mac resolves domain names.
Setting Up Custom DNS Servers
The DNS (Domain Name System) is what translates website names into IP addresses your Mac can understand. While your ISP provides default DNS servers, switching to alternatives like Cloudflare (1.1.1.1, 1.0.0.1) or Google (8.8.8.8, 8.8.4.4) can speed up browsing and enhance security.
"Every internet service provider operates their own DNS servers... That's not a problem unless the service provider's DNS servers become unavailable. At that point, your Mac won't be able to load any websites." - Matt Cone, Macinstruct
Here’s how to change your DNS settings:
Open the Apple menu and go to System Settings.
Click Network in the sidebar, select your active connection, and click Details.
Navigate to the DNS tab, click the "+" button, and enter your preferred DNS server addresses.
For those comfortable with Terminal, you can also use this command:
This example sets Cloudflare’s DNS servers for your Wi-Fi connection. To confirm the change, check your DNS settings with:
"DNS capabilities allow for smooth request processing and increased network privacy measures." - NordLayer
Managing Network Traffic Priority
Once you've optimized MTU and DNS settings, the next step is to ensure efficient handling of network traffic. While macOS doesn’t include robust built-in Quality of Service (QoS) tools, you can still improve traffic management.
"Implementing quality of service on the network client/endpoint is generally a waste of time." - bmike
To prioritize your Mac’s traffic, use your router’s QoS settings. Many modern routers allow you to assign higher priority to specific devices or applications, often by targeting your Mac’s MAC address.
Additionally, you can monitor and close bandwidth-heavy applications using the Activity Monitor on your Mac. If you have multiple network connections, macOS supports network interface bonding, which can combine connections for higher bandwidth and fault tolerance.
While macOS can help by limiting unnecessary bandwidth usage, true traffic prioritization is best handled at the router level, where all network activity is managed.
Tracking Network Performance with PeakHour

Once you've optimized your connection, keeping an eye on its performance is crucial to catch potential issues early. PeakHour is a macOS-based network monitoring tool that provides real-time insights into your internet performance. This app integrates seamlessly with macOS and uses UPnP and SNMP protocols to track network devices and servers, offering a detailed view of your connection's health. With a solid 4.4 out of 5 rating on the Mac App Store, it's a trusted choice for users dealing with intermittent connection problems. By tracking real-time metrics, you can confirm that the adjustments you made are working as intended and maintaining peak performance.
Live Bandwidth and Latency Tracking
PeakHour features a menu bar dashboard that keeps your network performance data just a click away. It displays real-time upload and download speeds, latency readings, and other connection quality metrics. These updates happen continuously, allowing you to quickly spot issues like bandwidth dips or latency spikes as they occur. The app also supports dark mode, ensuring the interface looks right at home on your Mac. Beyond your own device, PeakHour can monitor other Macs on the same network via iCloud, giving you a centralized view of your home or office network's overall performance. You can even set up alerts to help manage your data usage.
Creating Alerts for Data Usage Limits
One of PeakHour's standout features is its ability to monitor data usage and send alerts when you're nearing your limits. This can help you avoid unexpected overage charges by keeping you informed as you approach your monthly quota. Alerts are delivered through macOS notifications, so you’ll never miss a warning about your usage. This proactive system allows you to adjust your internet habits before hitting any limits or incurring extra fees.
Reviewing Past Network Performance Data
PeakHour also excels at helping you analyze past performance. The app logs bandwidth and latency data, which you can review or export for any period, from a few days to several months. These logs make it easier to identify recurring issues or patterns in your connection. For instance, you can correlate performance drops with specific activities or share detailed reports with your ISP to resolve ongoing problems.
PeakHour is available via an annual subscription for $12.99/year or as a one-time lifetime purchase for $44.95. Many users find the subscription cost fair given the app's extensive monitoring capabilities.
Avoiding Future Internet Speed Problems
Taking care of your Mac's network settings and overall security can help you avoid common internet speed issues. Here are some practical tips to maintain a reliable connection and prevent slowdowns.
Resetting Network Settings Regularly
Over time, your Mac's network settings can become corrupted or create conflicts. Resetting your network settings regularly can resolve these issues and give your system a clean slate.
"Resetting network settings often deletes all Wi-Fi, local network, and paired device settings saved on your Mac. Your device returns to the default state, resolving many underlying Wi-Fi problems."
One quick fix is to forget and re-add your Wi-Fi network. Go to System Settings, navigate to Wi-Fi, find your current network, and click "Forget This Network." Then reconnect by entering your password again. This clears out any stored configurations that might be causing trouble.
For more stubborn problems, you can delete the network configuration files located in /Library/Preferences/SystemConfiguration/. These files store your network preferences, and macOS will automatically generate fresh ones when you restart your Mac.
"Resetting network settings deletes saved Wi-Fi and device configurations, resolving hidden conflicts."
Taking these steps periodically ensures your Mac stays free of lingering network issues that could slow down your connection.
Keeping Software and Firmware Updated
Outdated software is a common culprit behind internet performance problems. Regular updates ensure that your system, browser, and router are running smoothly. macOS updates, in particular, often fix bugs and glitches that can interfere with your connection while also boosting security and performance.
"Keeping on top of macOS Software updates will help you address glitches and bugs like internet connection issues and also enhance performance and security." - Laura Burke
Enable automatic updates for macOS, your browser, and your router firmware to stay ahead of potential issues. Also, review your browser extensions and plugins regularly. Remove any you no longer use and update the ones you keep. Outdated or malfunctioning extensions can consume bandwidth or slow down your browser.
Protecting Your Network from Security Threats
Security threats don't just put your data at risk - they can also drag down your internet speeds. Malware, unauthorized users, and compromised devices can all hog bandwidth and interfere with your connection.
Start by changing your router's default credentials, setting a strong password, and renaming your Wi-Fi network to something that doesn't reveal personal or router-specific information. Use WPA3 encryption if your router supports it, or WPA2 as a fallback.
Enable firewalls on both your router and your Mac. On macOS, go to System Settings > Network > Firewall and switch it on. This helps block unauthorized connections that could slow your internet.
"Your home network is the digital front door to your life... Cybercriminals are constantly evolving their tactics to exploit weak points in home setups." - The Fing Team
To keep an eye on your network, use monitoring tools like Fing Desktop, which recently introduced an "Autoblock" feature to stop unknown devices from connecting automatically. This feature is available with their Starter and Premium subscriptions.
For added security, set up a guest Wi-Fi network for visitors and smart home devices. This keeps potentially compromised devices from interfering with your main network. Also, disable WPS and remote management settings on your router, as these can create vulnerabilities.
On your Mac, enable FileVault for disk encryption and activate Two-Factor Authentication for accounts tied to your network. These measures add an extra layer of protection against intrusions.
"Cybersecurity isn't a one-and-done job - it's an ongoing process. Threats evolve, and so should your defenses." - The Fing Team
Finally, consider using DNS filtering services like OpenDNS or Cloudflare for Families. These services block malicious websites before they can affect your system, keeping your connection fast and secure.
Conclusion: Main Points for Fixing Mac Internet Speed Issues
Improving internet speed on your Mac doesn’t have to feel overwhelming. Often, the simplest fixes can address common connectivity hiccups. Restarting your router, modem, and Mac can clear out temporary glitches that slow things down. Similarly, clearing your DNS cache and renewing DHCP settings can resolve IP address conflicts that may be causing issues. These basic steps lay a solid foundation for more advanced troubleshooting if needed.
Another important step is managing apps that consume a lot of bandwidth. Background applications can quietly hog your network resources, even when you're not actively using them, so keeping them in check is essential.
For more stubborn issues, resetting your Wi-Fi settings or deleting network configuration files can help refresh your connection. If Wi-Fi continues to act up, switching to a wired Ethernet connection can provide a more stable and reliable internet experience. Additionally, running regular malware scans is a must, as malicious software can secretly drain your bandwidth and slow down your connection.
"Maintaining an optimized digital environment through regular updates minimizes cyber risks and enhances system integrity and security."
– Easy2Patch
Keeping an eye on your network’s performance is another smart move. Proactive monitoring allows you to catch issues early, reduce downtime, and fine-tune your connection for better performance. Tools like PeakHour make this easier by offering real-time tracking of bandwidth and latency, all seamlessly integrated into macOS.
From basic fixes to ongoing monitoring, each step contributes to a faster and more reliable internet connection. Prevention is always better than troubleshooting. Regularly updating macOS and your browsers, maintaining strong network security, and monitoring your connection can help you avoid problems before they start. With these practices, your Mac will keep delivering the speedy, dependable internet performance you need.
FAQs
How can I tell if my internet speed issues are caused by my Mac or my internet provider?
If you're experiencing slow internet speeds and trying to determine whether the issue lies with your Mac or your internet provider, start by running a speed test. Use a wired connection directly to your modem for the first test. Then, switch to testing over Wi-Fi.
If the wired connection shows normal speeds but Wi-Fi is sluggish, your Mac's network settings or Wi-Fi configuration could be the culprit.
If both wired and Wi-Fi speeds are slow, the problem is likely with your internet provider.
To troubleshoot further, check with your ISP for any outages or maintenance in your area. Restarting your modem and router can also help - just make sure all cables are firmly connected. If the problem continues, you might need to tweak your Mac's network settings or contact your ISP for additional support.
What are the advantages of using custom DNS servers, and how can I configure them on my Mac?
Using custom DNS servers on your Mac can elevate your internet experience in a couple of key ways. For starters, you might notice faster browsing speeds, as many custom DNS providers are fine-tuned to respond quicker than the default servers provided by your ISP. On top of that, custom DNS servers often include enhanced security features, like blocking access to harmful websites and offering better privacy by reducing ISP tracking.
Here’s how you can set up custom DNS servers on your Mac:
Open System Preferences from the Apple menu.
Select Network, then choose your active connection (Wi-Fi or Ethernet).
Click Advanced and navigate to the DNS tab.
Use the + button to add new DNS addresses, such as Google DNS (
8.8.8.8and8.8.4.4).Hit OK, then Apply to save your changes.
By tweaking this setting, you can potentially boost your network performance and add an extra layer of online protection.
How can I secure my network and avoid internet speed issues on my Mac?
To ensure your network stays secure and your Mac runs with optimal internet speeds, here are some practical steps you can take:
Turn on your Mac's firewall: This helps block unauthorized access and protects your system from unwanted connections.
Secure your Wi-Fi with a strong password: Opt for WPA2 or WPA3 encryption and choose a complex password to prevent potential intrusions.
Keep macOS up to date: Regular updates provide the latest security fixes and performance improvements.
Use a VPN: A virtual private network encrypts your internet traffic, adding an extra layer of privacy and security.
Monitor your network activity: Tools like Activity Monitor can help you detect any unusual behavior that might compromise your security or slow down your connection.
By following these measures, you’ll not only enhance your network’s security but also minimize risks to your Mac’s performance and connectivity.